Summer cookouts are a time for connection, sunshine, and great food—but they’re often filled with processed meats, sugary desserts, and disposable, well, everything. Traditional menus can leave us feeling bloated, fatigued, or inflamed. This season, choose nourishing, sustainable swaps that taste amazing and help you feel even better.
SWAP #1: Kabobs Instead of Burgers or Hot Dogs
Skip the heavy burger buns and enjoy colorful protein-packed skewers that are naturally gluten-free and customizable.
Build-your-own kabob ideas:
Marinade: olive oil + lemon juice + garlic + oregano or rosemary
Proteins: wild-caught salmon or shrimp, organic chicken, grass-fed steak, marinated tofu or tempeh
Veggies & Fruit: zucchini, red onion, bell peppers, cherry tomatoes, pineapple, mushrooms
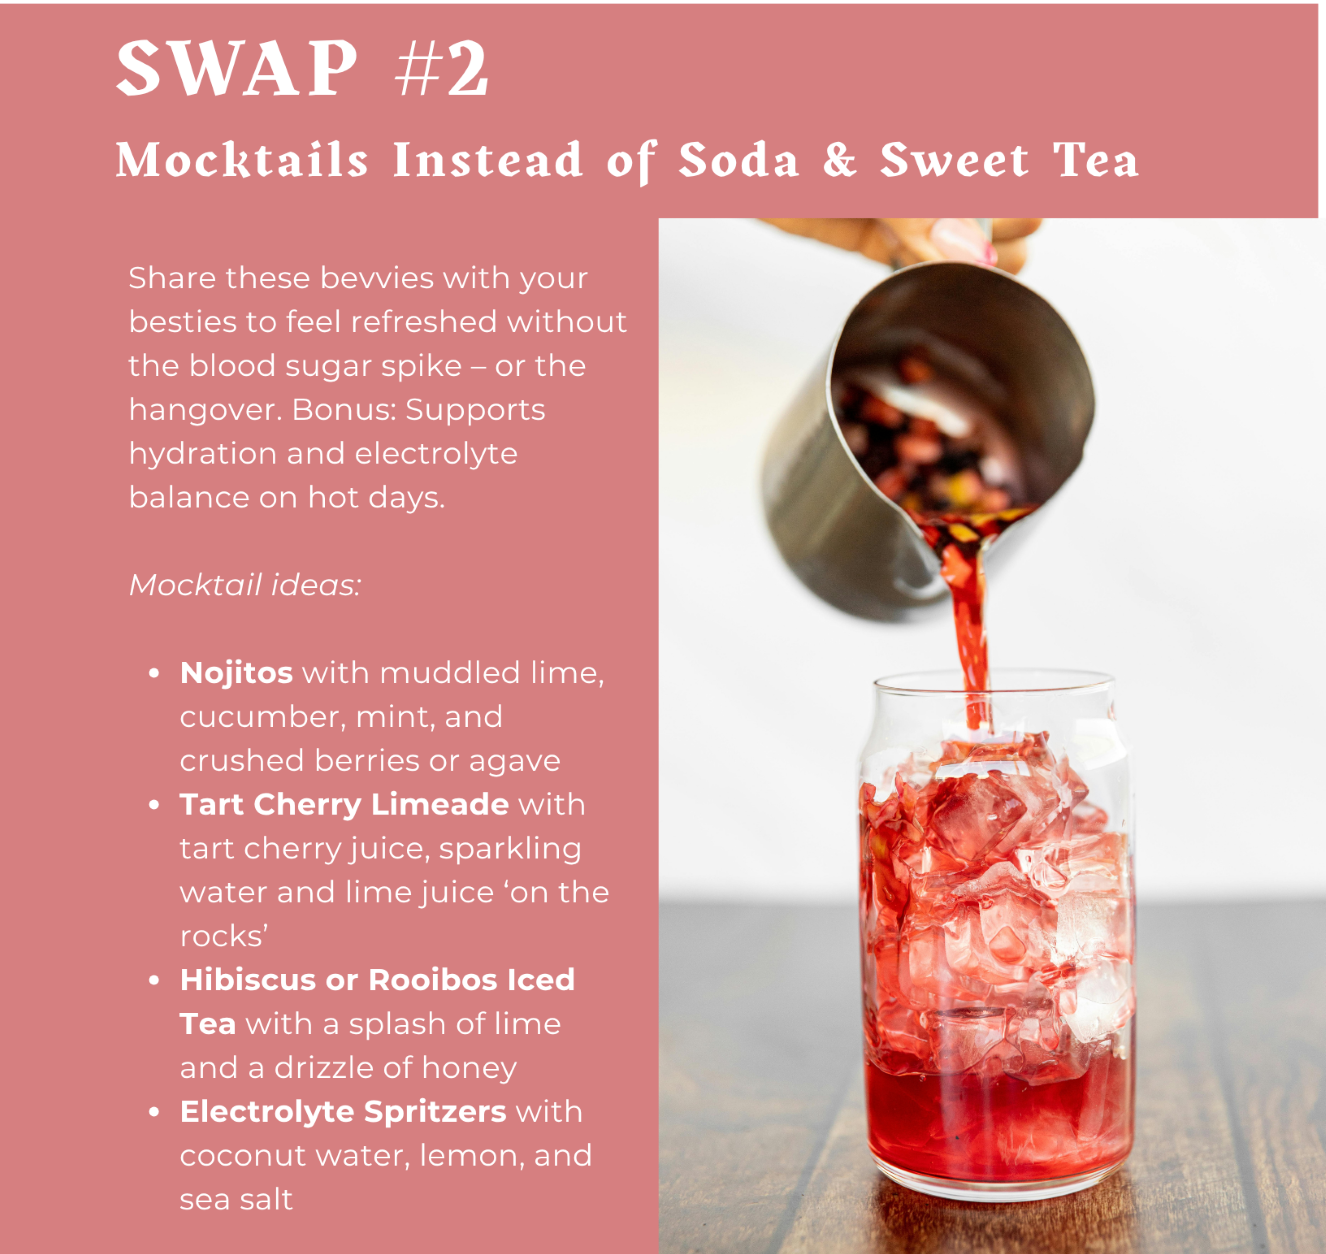
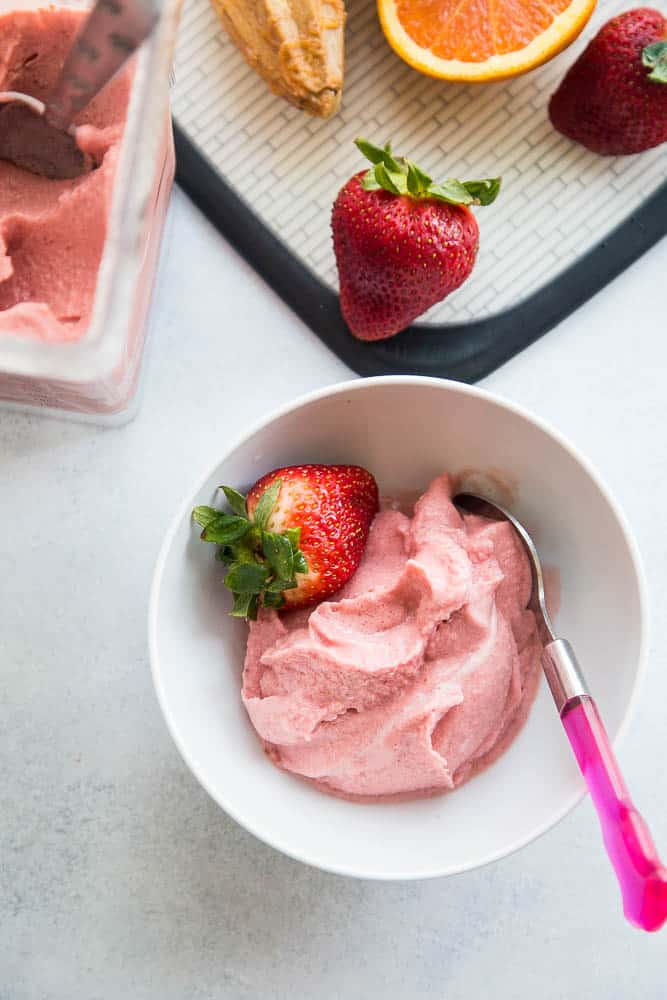
SWAP #3: Grilled Fruit Instead of Cobbler
Ditch the sugary, gluten-heavy desserts and grill up nature’s candy for a fiber-rich, antioxidant-packed, naturally sweet treat without the crash.
Easy grilled fruit ideas:
Top with coconut whipped cream, chopped toasted nuts, or a sprinkle of cinnamon
Peaches or nectarines: halved, brushed with coconut oil, grilled 2–3 mins per side
Pineapple rings or watermelon slices: caramelize for a smoky-sweet flavor

SWAP #4: Corn-Based or Bamboo Plates Instead of Plastic
Did you know plastic plates and utensils can leach hormone-disrupting chemicals, especially when exposed to heat and sunlight?
Here are some better options to support hormone health and reduce landfill waste:
- Compostable corn-based or bamboo plates and flatware
- Enamel or stainless steel reusable sets
- Cloth napkins for a zero-waste, elegant upgrade
Takeaways
Enjoy real food. Celebrate connection. Support your health—naturally.
Summer cookouts don’t have to derail your health goals. It IS possible to avoid gluten, dairy, and highly processed foods without missing out on celebrations with friends and family.
Perfection is not the goal. Choose one swap that sounds good to you and let yourself enjoy the rest, if it won’t make you feel terrible afterwards.
Subtle changes add up over time – and are more likely to be sustainable.
To schedule an appointment with one of our certified Functional Medicine Physicians, please give us a call. We are excited to partner with you on your journey to optimize your health and wellness through personalized care tailored to your unique needs.
919.999.0831